


Disable An HTML Button Until Required Fields Are Populated
Someone reached out to me on Twitter and asked me to show how to hide/disable a button unless if a custom field is not entered. This blog post explains how you can do that with vanilla HTML, CSS, and JavaScript.
By combining the structure of HTML, the styling capabilities of CSS, and the utility of JavaScript, you can:
- Populate a webpage with custom input/form fields (HTML)
- Populate a webpage with a button (HTML)
- Style the webpage fields and button to suggest to the user whether they can click the button or not (CSS)
- Perform functionality when the user types something into any of the form/input fields (JavaScript)
- Perform functionality when the user clicks the button (JavaScript)
- Make sure the required fields are filled out before allowing the button to be clicked for functionality (JavaScript)
Create a page skeleton
First, we need to create the skeleton of the HTML page:
<!DOCTYPE html>
<html>
    <head>
        <style>
        </style>
    </head>
    <body>
        <script>
        </script>
    </body>
</html>
The code snippet above populates a blank page
We put the <style> tag in the <head> section because we want to make sure our CSS styling loads to the page before anything in the body. Otherwise, the page may do unusual things while content is loaded over the network and styling is applied as it comes in.
We put the <script> tag in the <body> section because we want to give users the illusion that the page loaded quickly. Since users will perceive the page loaded faster by watching content appear on the screen than clicking things and triggering the JavaScript content, we want the HTML content to be loaded over the network before the JavaScript content.
Populate the bare minimum HTML content
Next, we populate the page with HTML content. We want to put some input fields and a button on the page:
<!DOCTYPE html>
<html>
    <head>
        <style>
        </style>
    </head>
    <body>
        <input placeholder="Name" />
        <input placeholder="Email" />
        <input placeholder="Phone Number" />
        <button>Submit</button>
        <script>
        </script>
    </body>
</html>
The code snippet above populates the page below:
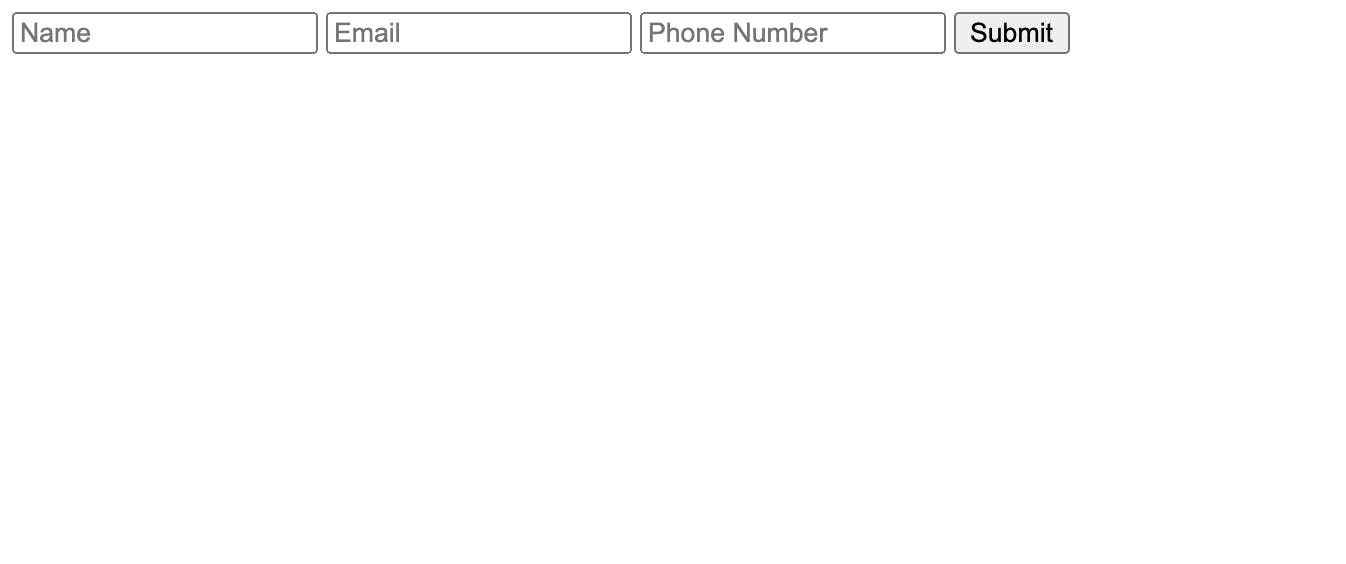
Right now, with just HTML, this page doesn't look so great and doesn't really do anything helpful. But you can type text into the input boxes and click the button and it is minimally interactive.
Add some style
If we add a little more HTML and some CSS, we can make the page look a little nicer:
<!DOCTYPE html>
<html>

    <head>
        <style>
            /* This class creates a container
                    that holds all the content */
            .content-container {
                display: flex;
                flex-direction: column;
                justify-content: center;
                align-items: flex-start;
            }

            /* This class creates a container
                    that holds the input fields */
            .input-container {
                display: flex;
                flex-direction: column;
                justify-content: center;
                align-items: flex-start;
            }

            /* This spaces out the input fields
                    and the button so they aren't
                    so close together */
            input,
            button {
                margin: 15px;
            }

            /* This makes the input fields look
                    a little nicer */
            input {
                padding: 10px;
                border-style: none none solid none;
            }

            /* This makes the button look
                    a little nicer */
            button {
                padding: 15px;
                border: none;
                background-color: navy;
                border-radius: 1%;
                color: white;
            }

            /* This makes the button change color
                    when the mouse is hovering over it */
            button:hover {
                background-color: lightblue;
                cursor: pointer;
            }

            /* This makes the button's background color
                    grayed out if the button is inactive */
            .inactive {
                background-color: lightgray;
            }

            /* This makes the button stay grayed out
                    if the user hovers over the button */
            button.inactive:hover {
                background-color: lightgray;
                cursor: not-allowed;
            }
        </style>
    </head>

    <body>
        <!-- The content container lets us align all the content nicely -->
        <div class="content-container">
            <!-- The input container lets us align the input fields nicely -->
            <div class="input-container">
                <!-- We add the "required" class to all input fields -->
                <input class="required" placeholder="Name" />
                <input class="required" placeholder="Email" />
                <input class="required" placeholder="Phone Number" />
            </div>
            <!-- We give the button an id and the inactive class . . .
                We use the inactive class to differentiate between
                when the button should be clickable or disabled -->
            <button id="submit" class="inactive">Submit</button>
        </div>
        <script>
        </script>
    </body>
</html>
The code snippet above populates the page below:
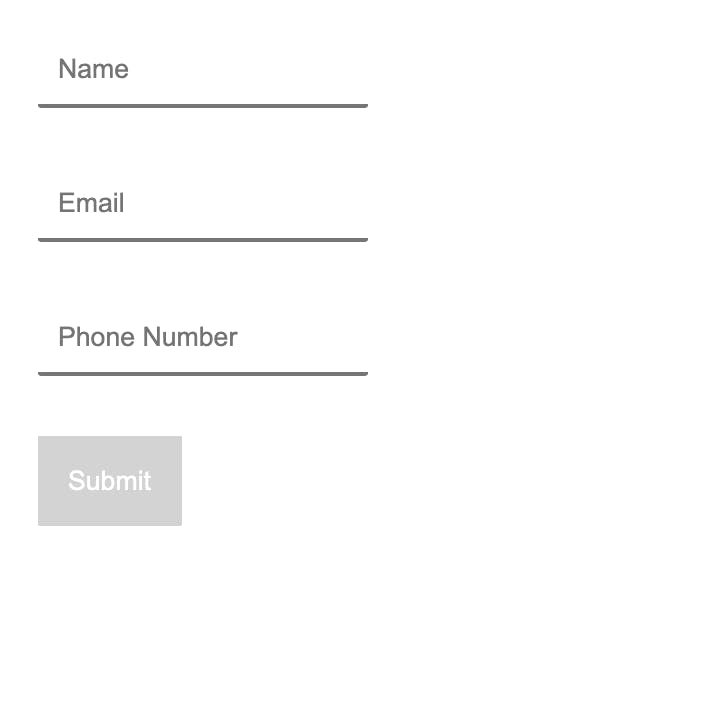
That's a lot of new content on the page! It might be intimidating, but look carefully through the code and try to understand what every line is doing. I left comments throughout the code which are denoted by /* . . . */ for CSS comments and <!-- . . . --> for HTML comments.
This latest section added a little more HTML (containers that can be further used to structure the page the way we want it) and some CSS to change the appearance of the page.
You can apply your own CSS to make the page look the way you want it, but for the functionality to work in the next section I recommend you leave the class="required", id="submit", and class="inactive" element attributes alone. Those attributes will be used by JavaScript to support the functionality of only letting the button be clicked if the user has filled out all required fields.
Add JavaScript
<!DOCTYPE html>
<html>

<head>
    <style>
        .content-container {
            display: flex;
            flex-direction: column;
            justify-content: center;
            align-items: flex-start;
        }

        .input-container {
            display: flex;
            flex-direction: column;
            justify-content: center;
            align-items: flex-start;
        }

        input,
        button {
            margin: 15px;
        }

        input {
            padding: 10px;
            border-style: none none solid none;
        }

        button {
            padding: 15px;
            border: none;
            background-color: navy;
            border-radius: 1%;
            color: white;
        }

        button:hover {
            background-color: lightblue;
            cursor: pointer;
        }

        .inactive {
            background-color: lightgray;
        }

        button.inactive:hover {
            cursor: not-allowed;
        }
    </style>
</head>

<body>
    <div class="content-container">
        <div class="input-container">
            <input class="required" onkeyup="checkInputs()" placeholder="Name" />
            <input class="required" onkeyup="checkInputs()" placeholder="Email" />
            <input class="required" onkeyup="checkInputs()" placeholder="Phone Number" />
        </div>
        <button id="submit" onclick="yourFunction()" class="inactive">Submit</button>
    </div>
    <script>
        // This function runs when the user releases a keyborad press
        function checkInputs() {
            // Set the input fields and button to a variable for future use
            const required = document.getElementsByClassName('required');
            const button = document.getElementById('submit');

            // Iterate through all the elements that have the class "required"
            for (let i = 0; i < required.length; i++) {
                // If the currently evaluated required input field is empty,
                if (!required[i] || !required[i].value) {
                    // Set the button to inactive and exit the function
                    button.classList.remove('active');
                    button.classList.add('inactive');
                    return;
                }
            }
            // If all the required input fields were populated, set the button to active
            button.classList.remove('inactive');
            button.classList.add('active');
        }

        // This function runs when the user clicks the button
        function yourFunction() {
            // If the button is inactive, exit without doing anything
            if (document.getElementById('submit').classList.contains('inactive')) {
                return;
            }
            // After this point in the function,
            // you can write the code to do whatever you want

            // Do your stuff here
            console.log('Did stuff');
        }
    </script>
</body>

</html>
The code snippet above populates the page below:
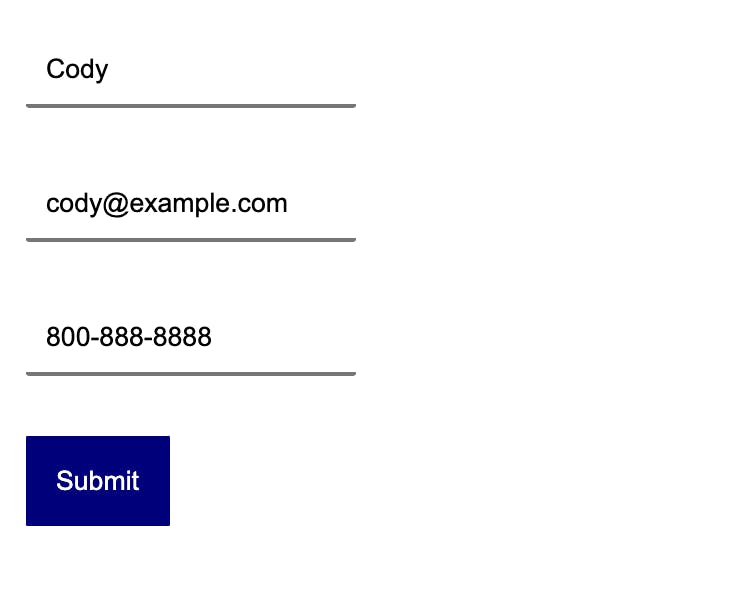
Notice that I added the onkeyup="checkInputs()" and onclick="yourFunction()" attributes to the input fields and the button. These event listeners execute the given JavaScript functions when the specified events occur (when the user releases a keyboard press for onkeyup and when the user clicks for onclick).
Read through the comments that I left in the <script> tags. In short, the JavaScript code checks if all required fields are populated and if they are, the user can click the button for functionality and the styling is changed to let the user know they can click the button.
Alternative ways
There is more than one way of performing this functionality, and that's the great thing about code. There are so many ways to do things, you have the freedom to do what you want to do. As you get better at writing code, you will learn the pros and cons of the different ways of writing code.
This way of writing the code was very simple and easy to write. That can be a huge pro for choosing a certain way, especially if development speed is your highest priority. You could also implement HTML forms, you could set the display CSS property of .inactive to none to completely hide the button instead of just graying it out when the user hasn't filled out all required fields.
Try playing around with how this code is implemented and find the structure, style, and functionality that fits your use-case best.
Outtro
Thanks for joining me for this short tutorial of how to disable a button until required fields are populated. As mentioned at the beginning, this article was requested by one of my Twitter followers. Follow me on Twitter as @CodeUhi and let me know if there are any other specific coding problems you'd like me to write about.
Happy Coding :)